Project Documentation with GitHub Pages
Table of contents
A core component of a project at the SNaP Lab is its documentation. Each lab member is expected to host and document a project’s code on the LindenParkesLab GitHub repository and use that same repository to create a summary webpage, using GitHub Pages. This is the responsibility of the first author to create and maintain. See here for an example of what this looks like.
Creating a GitHub page is straight forward, and it is an excellent skill to have. This tutorial will walk you through the process.
Managing a project on GitHub
Create a GitHub repo for your project
Code for all SNaP Lab projects must be stored on the LindenParkesLab GitHub in a repository specifc to that project (e.g., LindenParkesLab/nct_xr). If you haven’t done so already, start by creating a repository on the lab’s GitHub for your project. If you need a folder structure template, see SNaPLab/project_template.
Switch to the gh-pages branch
Once the project has been published in a peer-reviewed journal, create a new branch in your project’s GitHub repo called gh-pages. Note, this branch is created on your project’s GitHub repo, not here on the wiki’s repo. The simplest way to do this is via the GitHub website.
First, click on the branch dropdown menu and then View all branches:

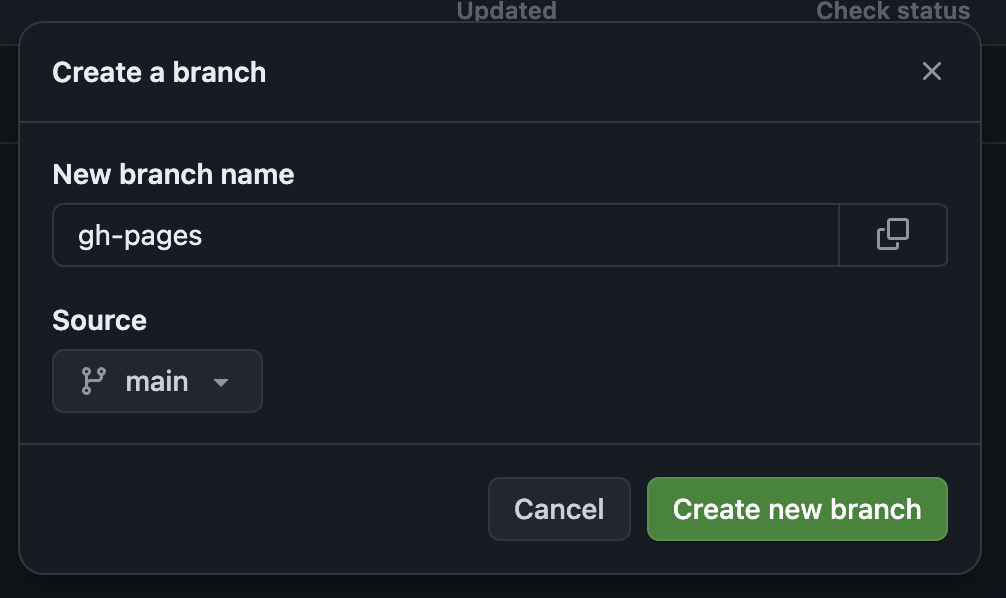
Second, click New branch in the top right (the big green button). In the box that pops up, create a new branch call gh-pages sourced from main:
Third, on your local machine, you’ll need to pull the new gh-pages branch down from the remote source (e.g., via Fetch origin if you’re using GitHub Desktop).
Finally, switch to your gh-pages branch. If you’re using GitHub Desktop, you can do this from a dropdown box in the app. If you’re using the terminal, just type git checkout gh-pages.
Adding content to gh-pages
Once you’re working in the gh-pages branch on your local machine, you will need to add the following files to your project’s repo:
_config.ymlmy_graphic.pngindex.md
In _config.yml, paste the following content:
title: <br>
logo: ./my_graphic.png
theme: jekyll-theme-minimal
For index.md, see here for an example. Just copy the subheadings and fill out the content as it pertains to your project. Please ask Linden if you’re confused.
Publish your page!
Once you’ve added/modified the above files, pushed your repository’s gh-pages branch to GitHub. Then, after a little wait, your project’s documentation should build on GitHub Pages and should be available at https://lindenparkeslab.github.io/YOUR_PROJECT_NAME!
To view an example, see https://lindenparkeslab.github.io/nctpy/.
Don’t forget to change back to your main branch (git checkout main).
Important
Remember not to mix up your
mainandgh-pagesbranches! You don’t want to add code togh-pagesor unnecessary documentation tomain.
If you ever want to see what’s going on with your GitHub Pages branch on GitHub, you can simply go to https://lindenparkeslab.github.io/YOUR_PROJECT_NAME/branches to look at your main and gh-pages branch.
Look at you go.