Python environments with Anaconda
Table of contents
Most of our analyses are done in Python (as they should be). The simplest way to get Python setup for your project is to use Anaconda.
Anaconda
Anaconda is a Python environment and package manager. In short, Anaconda allows you to install any version of Python you want into a virtual environment, and then install/manage Python packages that run off of that install. These environments are standalone and isolated from your system as well as each other. This means that you can setup as many of them as you want, which allows you to install as many different versions of Python as you like, each setup with different packages. Because of this functionality, Anaconda is a flexible and powerful way of managing Python across multiple research projects.
Install Anaconda
To install Anaconda, first go to this website: https://docs.anaconda.com/anaconda/install/
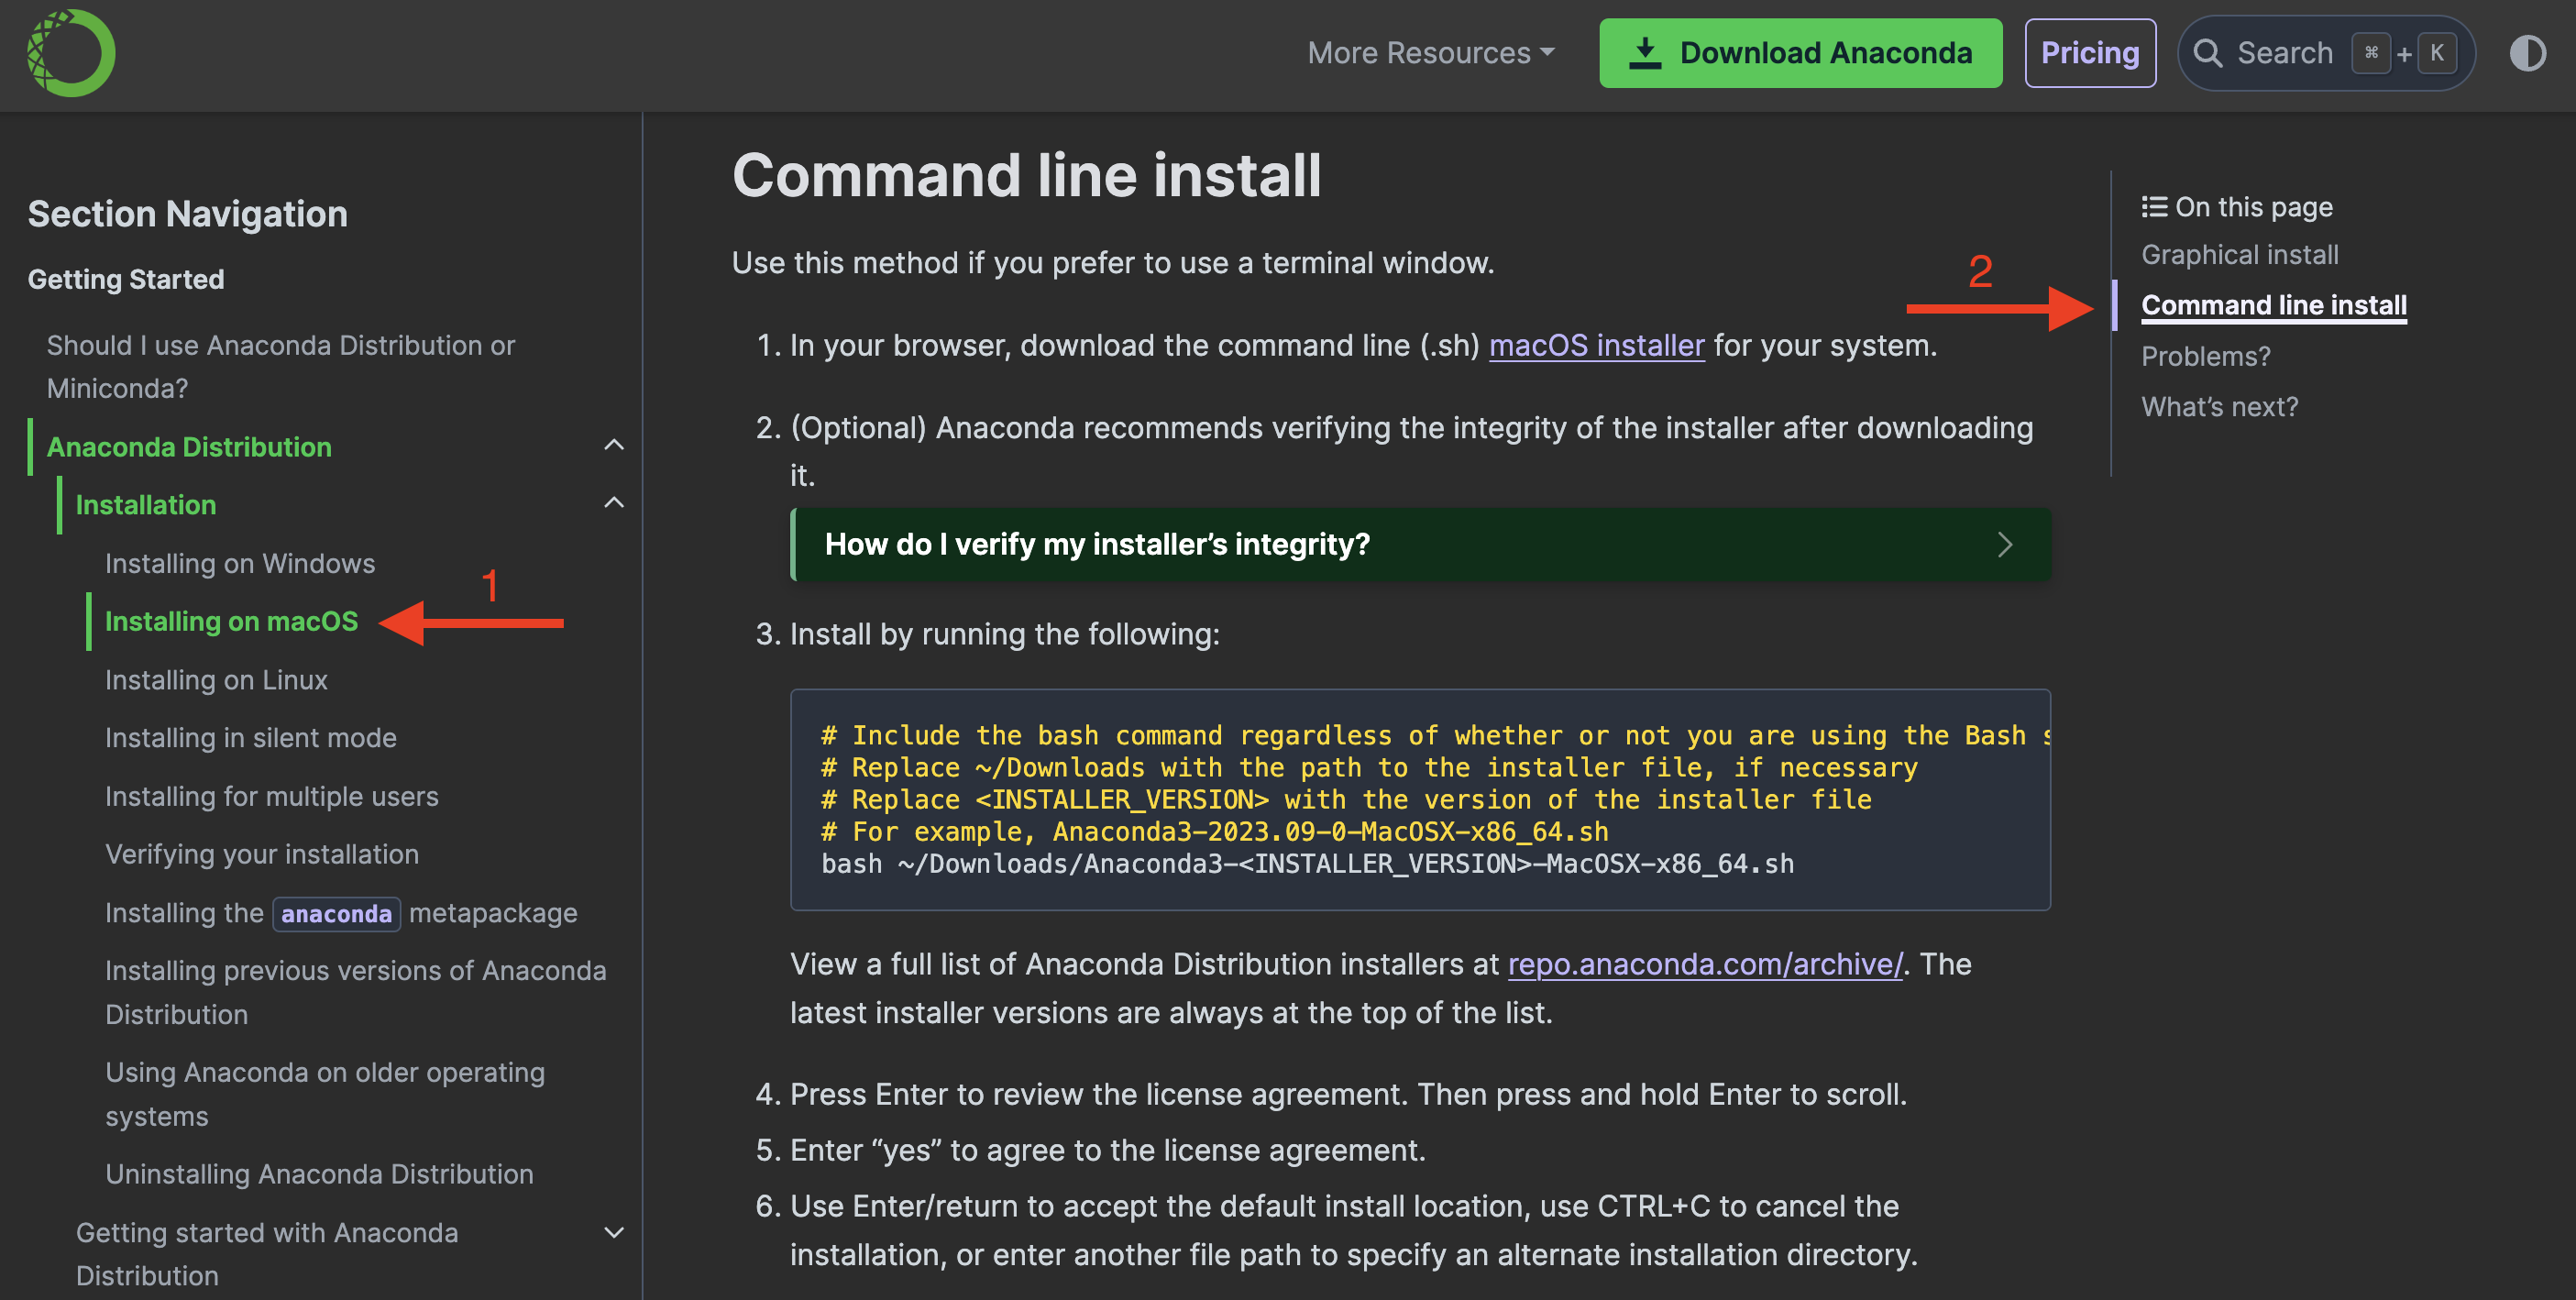
Next, from the side menu on the left, select your operating system (1). Then, in the top right hand corner, select the Command line install option. Finally, follow the instructions!
Check it
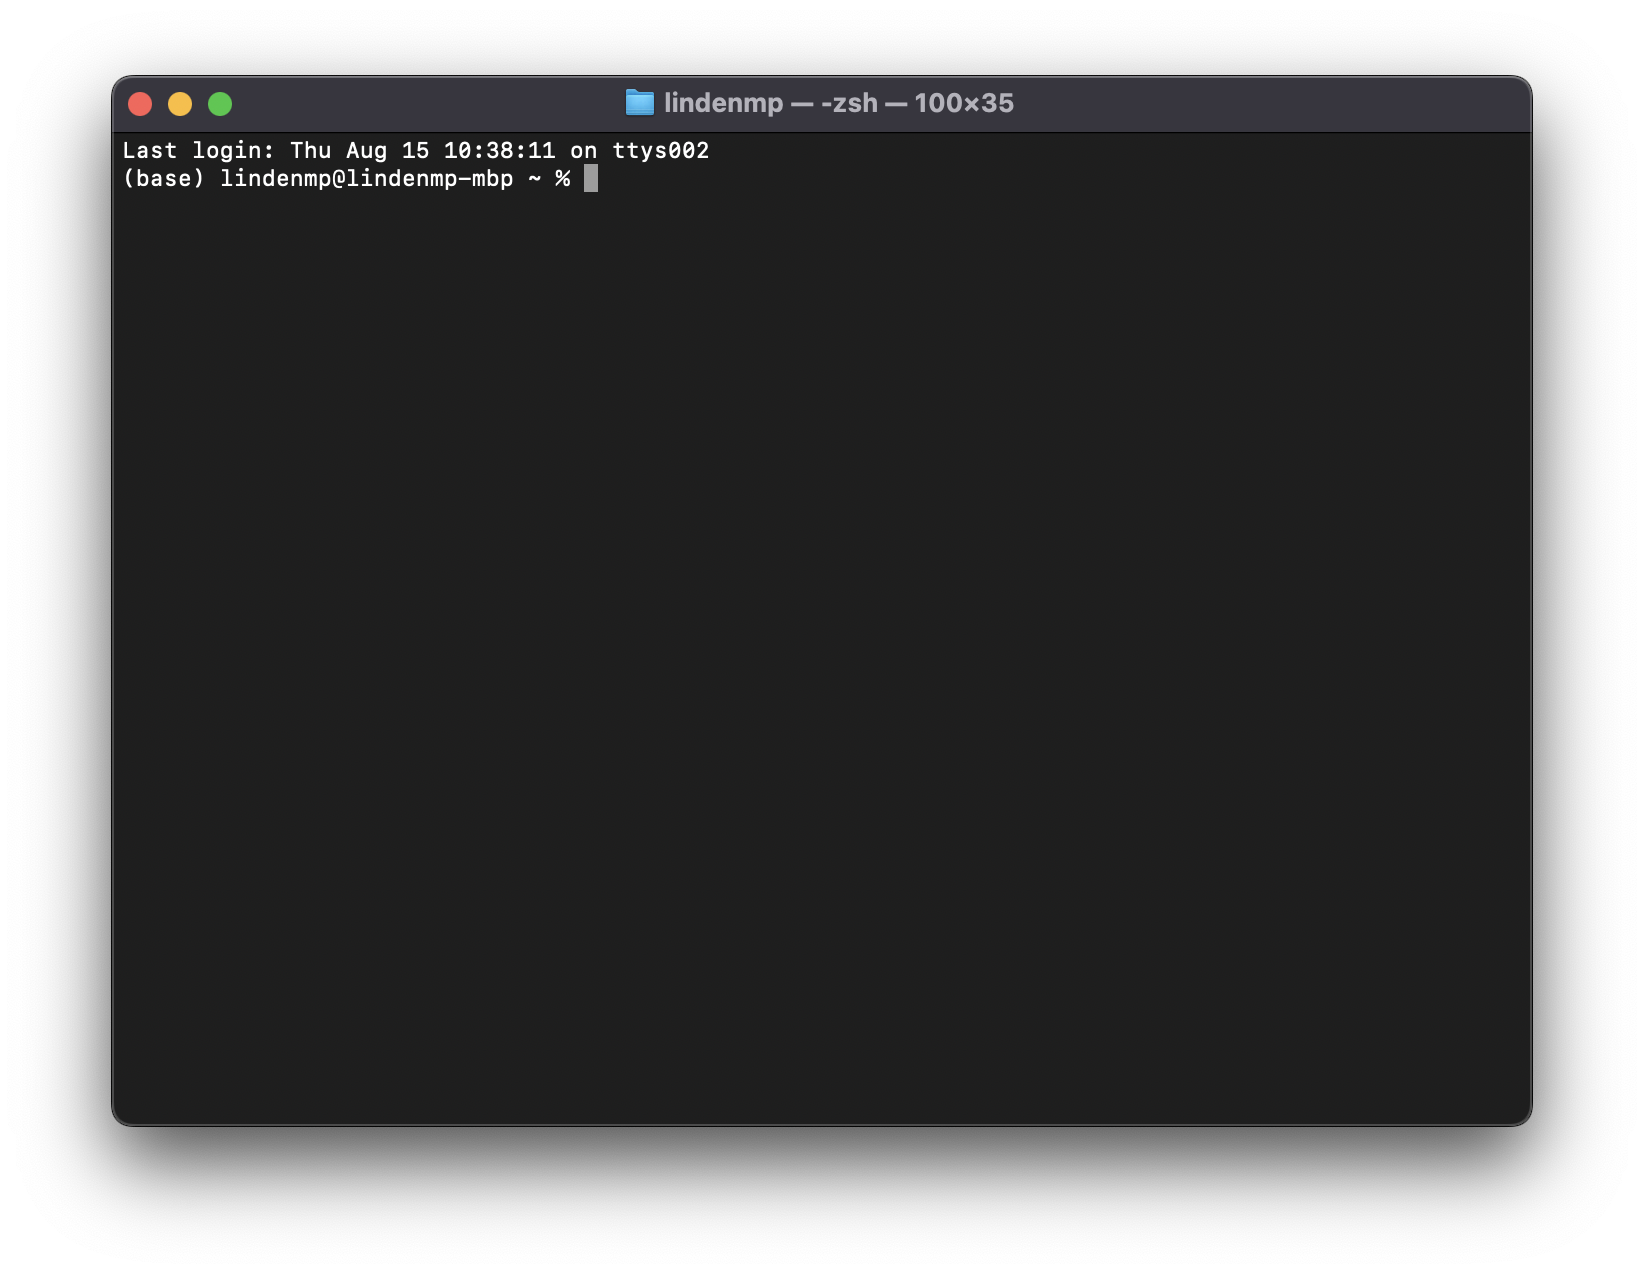
Once Anaconda is installed, you should have the default base environment already setup and ready to use. To check this on Mac OS or Linux, open the Terminal app and you should see (base) at the start of your terminal:
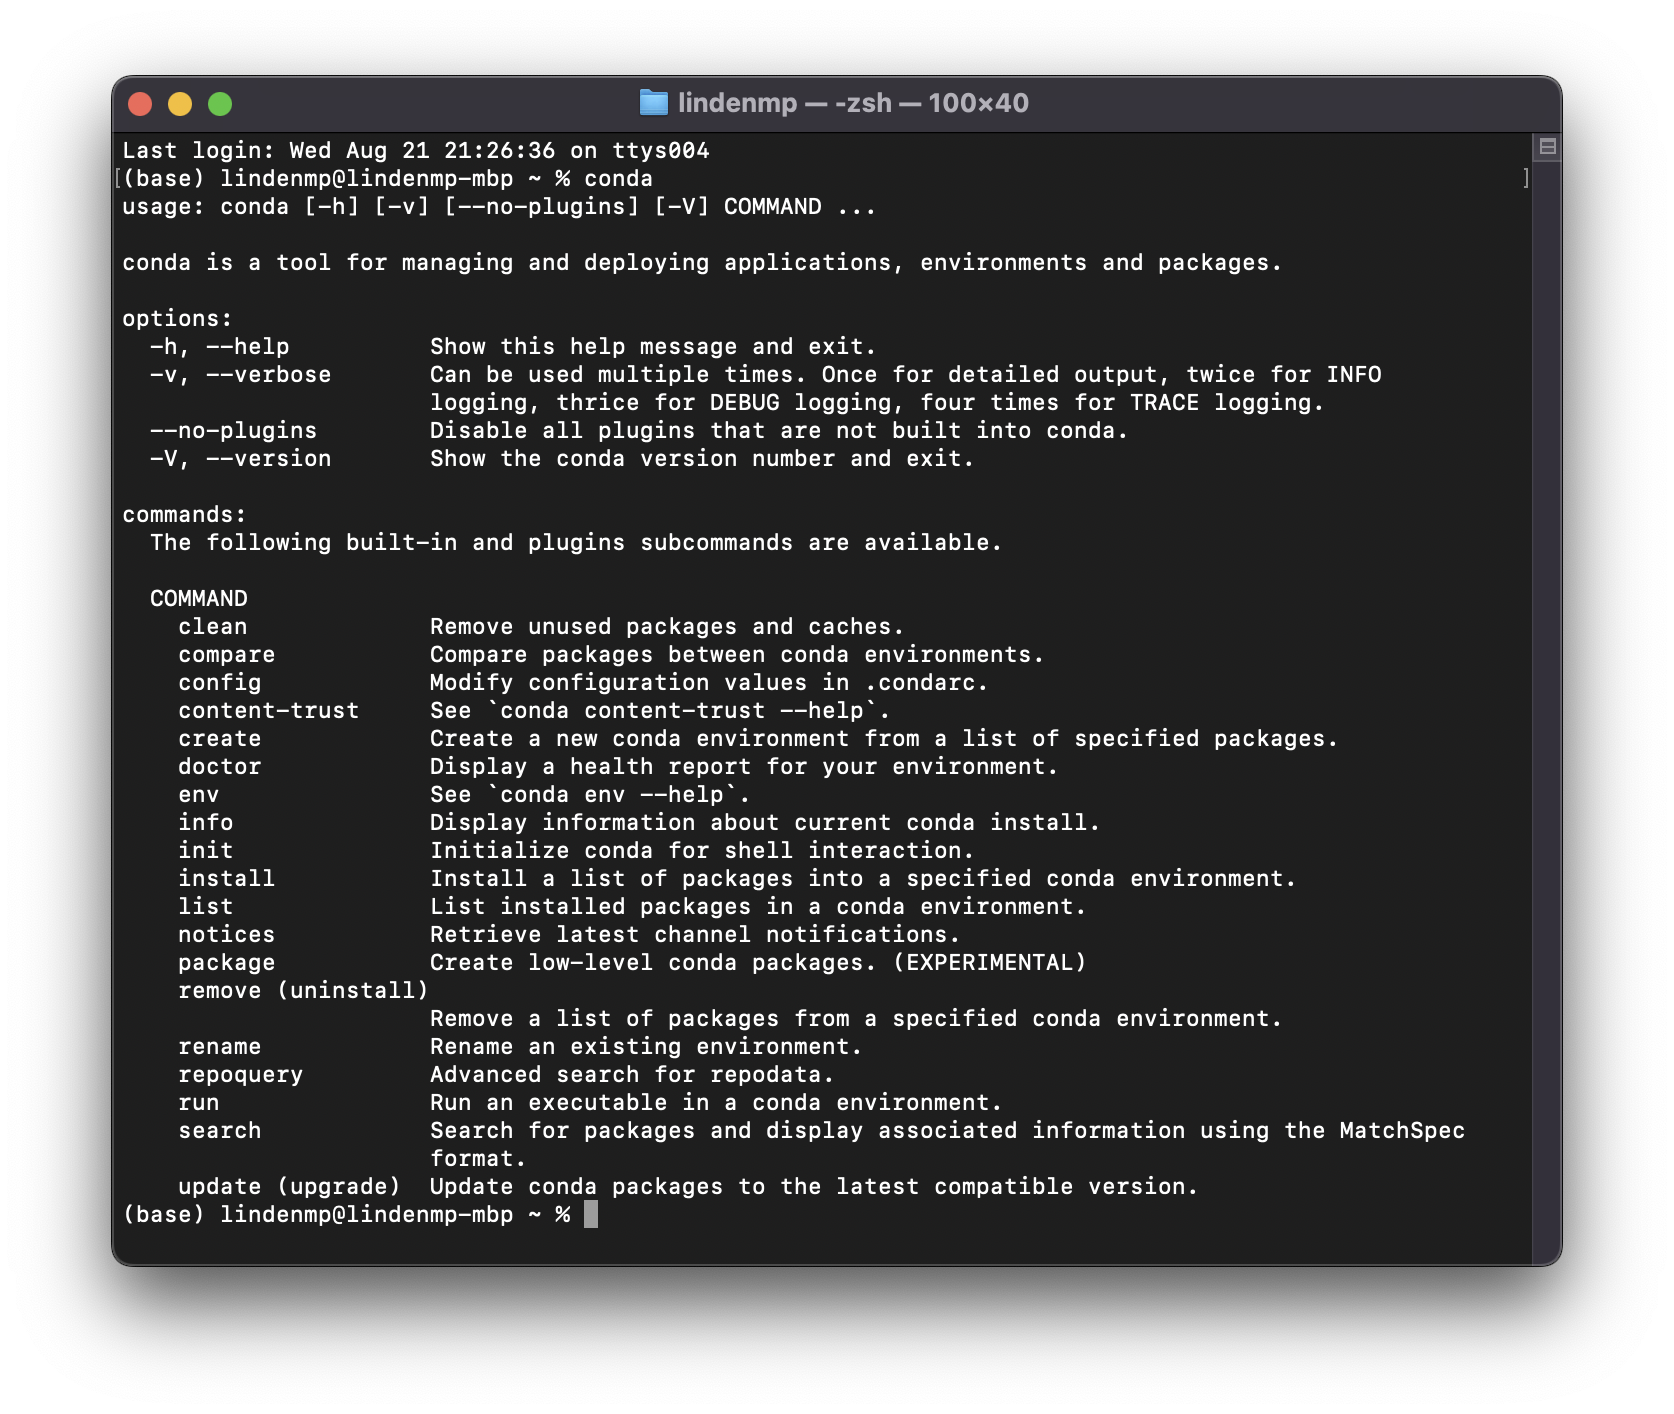
Great, Anaconda is installed and working! Now you have access to the conda function in your terminal. Type it in and hit Return and you will see some useful information about the usage of conda:
See here for a handy conda cheat sheet!
Setup your own environment
Even though you could use the base environment for your analyses, we suggest ignoring it. Instead, setup your own environment using the conda function like so:
$ conda create --name my_python_env python=3.9
Feel free to change the name of your environment (my_python_env) to something that makes sense for your project. Also, this is where you tell Anaconda which version of Python you want to install (python=3.9). If you want the latest version of Python, just omit this option completely.
Finally, part way through the environment install you will be prompted to continue (Proceed ([y]/n)?), just hit Return.
Once Anaconda has setup your environment for you, activate it like so:
$ conda activate my_python_env
The left side of your terminal should now read (my_python_env) instead of (base). Now, if you install a Python package (e.g., numpy), it will be installed into this environment only and will not interfere with any of your other Python environments.
Install a Python package
Now that you have your own Anaconda-managed Python environment setup and activated, it’s time to install some Python packages! There are two ways to do this. The first is using the conda command and the second is using the pip command. Note, conda is typically preferred over pip; use pip if you can’t find the package you want on Anaconda. Either way, the process is very similar. For example, to install the popular numpy package with Anaconda, we input:
$ conda install numpy
Using pip, we input:
$ pip install numpy
Check it
To check that the above worked, simply load into Python like so:
$ python
Then, import numpy:
>>> import numpy as np
If everything is working properly, you should get your Python command line back (>>>) with no errors or feedback. Congratulations, you now have your very own Python virtual environment—installed and managed by Anaconda—ready for some number crunching using numpy! Look at you go.